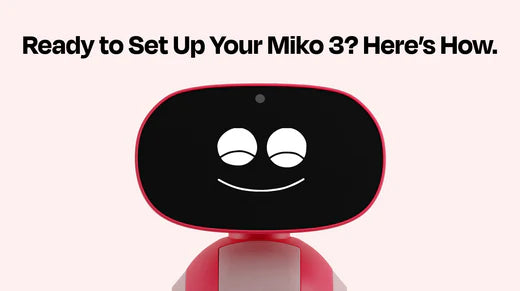
You completed your purchase. You tracked your package. And now, the day you’ve been waiting for has arrived: Miko 3 just landed at your home!
It’s hard to imagine anything better than a brand-new Miko 3 arriving at your door, but it gets even sweeter—because setup is a synch. Follow the quick guide below to complete your five-step setup and get straight to the fun part: introducing this witty little bot to the special kid in your life.
Set up Your Miko 3
1. Connect to WiFi

Turn on your Miko 3. Once you do, follow the prompts that appear on the screen. The first step? Connecting your robot to wifi.
When you see the Connect to WiFi prompt on the Miko screen, make sure your robot is within your network’s range. Then, find your network from the Available Secure Networks list.
Find your network and tap “Configure.” Enter your wifi password, tap “Save” and—viola!—your little bot will connect to your wifi network.
2. Select your language

Once Miko 3 is connected to your wifi, you’re on to Step 2: selecting your language. English is the default, so if that’s your preference, simply tap “Next.” Otherwise you can choose from all the other languages that Miko knows.
(Pro tip: If you want Miko to converse in a language other than English, you can make that selection from the Parent App later too.)
3. Complete your child’s profile

Congrats! You’re already halfway finished with the Miko 3 setup process. When prompted, complete your child’s profile so that Miko can greet your kid by their first name (and wish them a Happy Birthday on their special day).
Once you’ve entered your child’s name and birthday, tap “Save” to head on to Step 4.
4. Pair Miko 3 with your Parent App

Now, it’s time to Pair Miko 3 with your Parent App. When you see the QR code appear on-screen, scan it with your smartphone. (If you prefer, you can also search “Miko Parent App” in the App Store or Google Play.)
Once you’ve download the Parent App, tap “Next” on the Miko 3 screen. You’ll see a combination of six letters and numbers; that’s your activation code.
Head back to your Parent App and enter the code on the “Pair Me” page. When the app is paired with your Miko 3, you’re ready for the final step of your setup!.
5. Update your bot to the latest version

When you see Power Up on your screen, just click on "Update Now" and your Miko 3 will begin updating. This shouldn’t take more than a few minutes, but if you’re curious about the update’s status, you can watch the percentage change on-screen.
Once the download reaches 100%, it'll take a few minutes to install the update and then, it’s official: You’re finished with your Miko 3 setup and ready to start having some fun!
BONUS: Start exploring with Miko 3

Now that you’ve completed your setup, it’s time for the best part of all: introducing your little learner to Miko 3.
As Miko and your child get to know each other, there’s always more to explore. Urge your child to try one of the apps on the Talents tab, or discover the fun conversations happening in the Tidbits section.

Or, break the ice with a question! Have your child say, “Hello Miko.” Once Miko enters listening mode, ask, “Can you dance for me?” Then, watch the bot bust a move (and urge your child to get moving, too).

We’ve made setting up your Miko 3 quick and easy so that your child can start having fun right away. But if you need help, we’re here for you. Email support@miko.ai any time with your setup questions. You can also chat directly with our support executives through the chat feature in the Miko 3 Parent App. And once your child meets Miko, drop us a line to let us know how it’s going!


